
This post has been a long time coming! It’s the most frequently requested tutorial, and I’m so excited to share it with you! When I first came up with this idea, I didn’t have any plans or instructions to follow, and was making it up on the fly. Thankfully, it turned out exactly as I had hoped, and now I can recreate the steps for you guys!
I’ve been in love with Arhaus Sullivan Console for a long time and used it as my inspiration, since this price was completely out of my budget. I love the simplicity of the design, the waterfall feature and how heavy and “chunky” the structure looks.
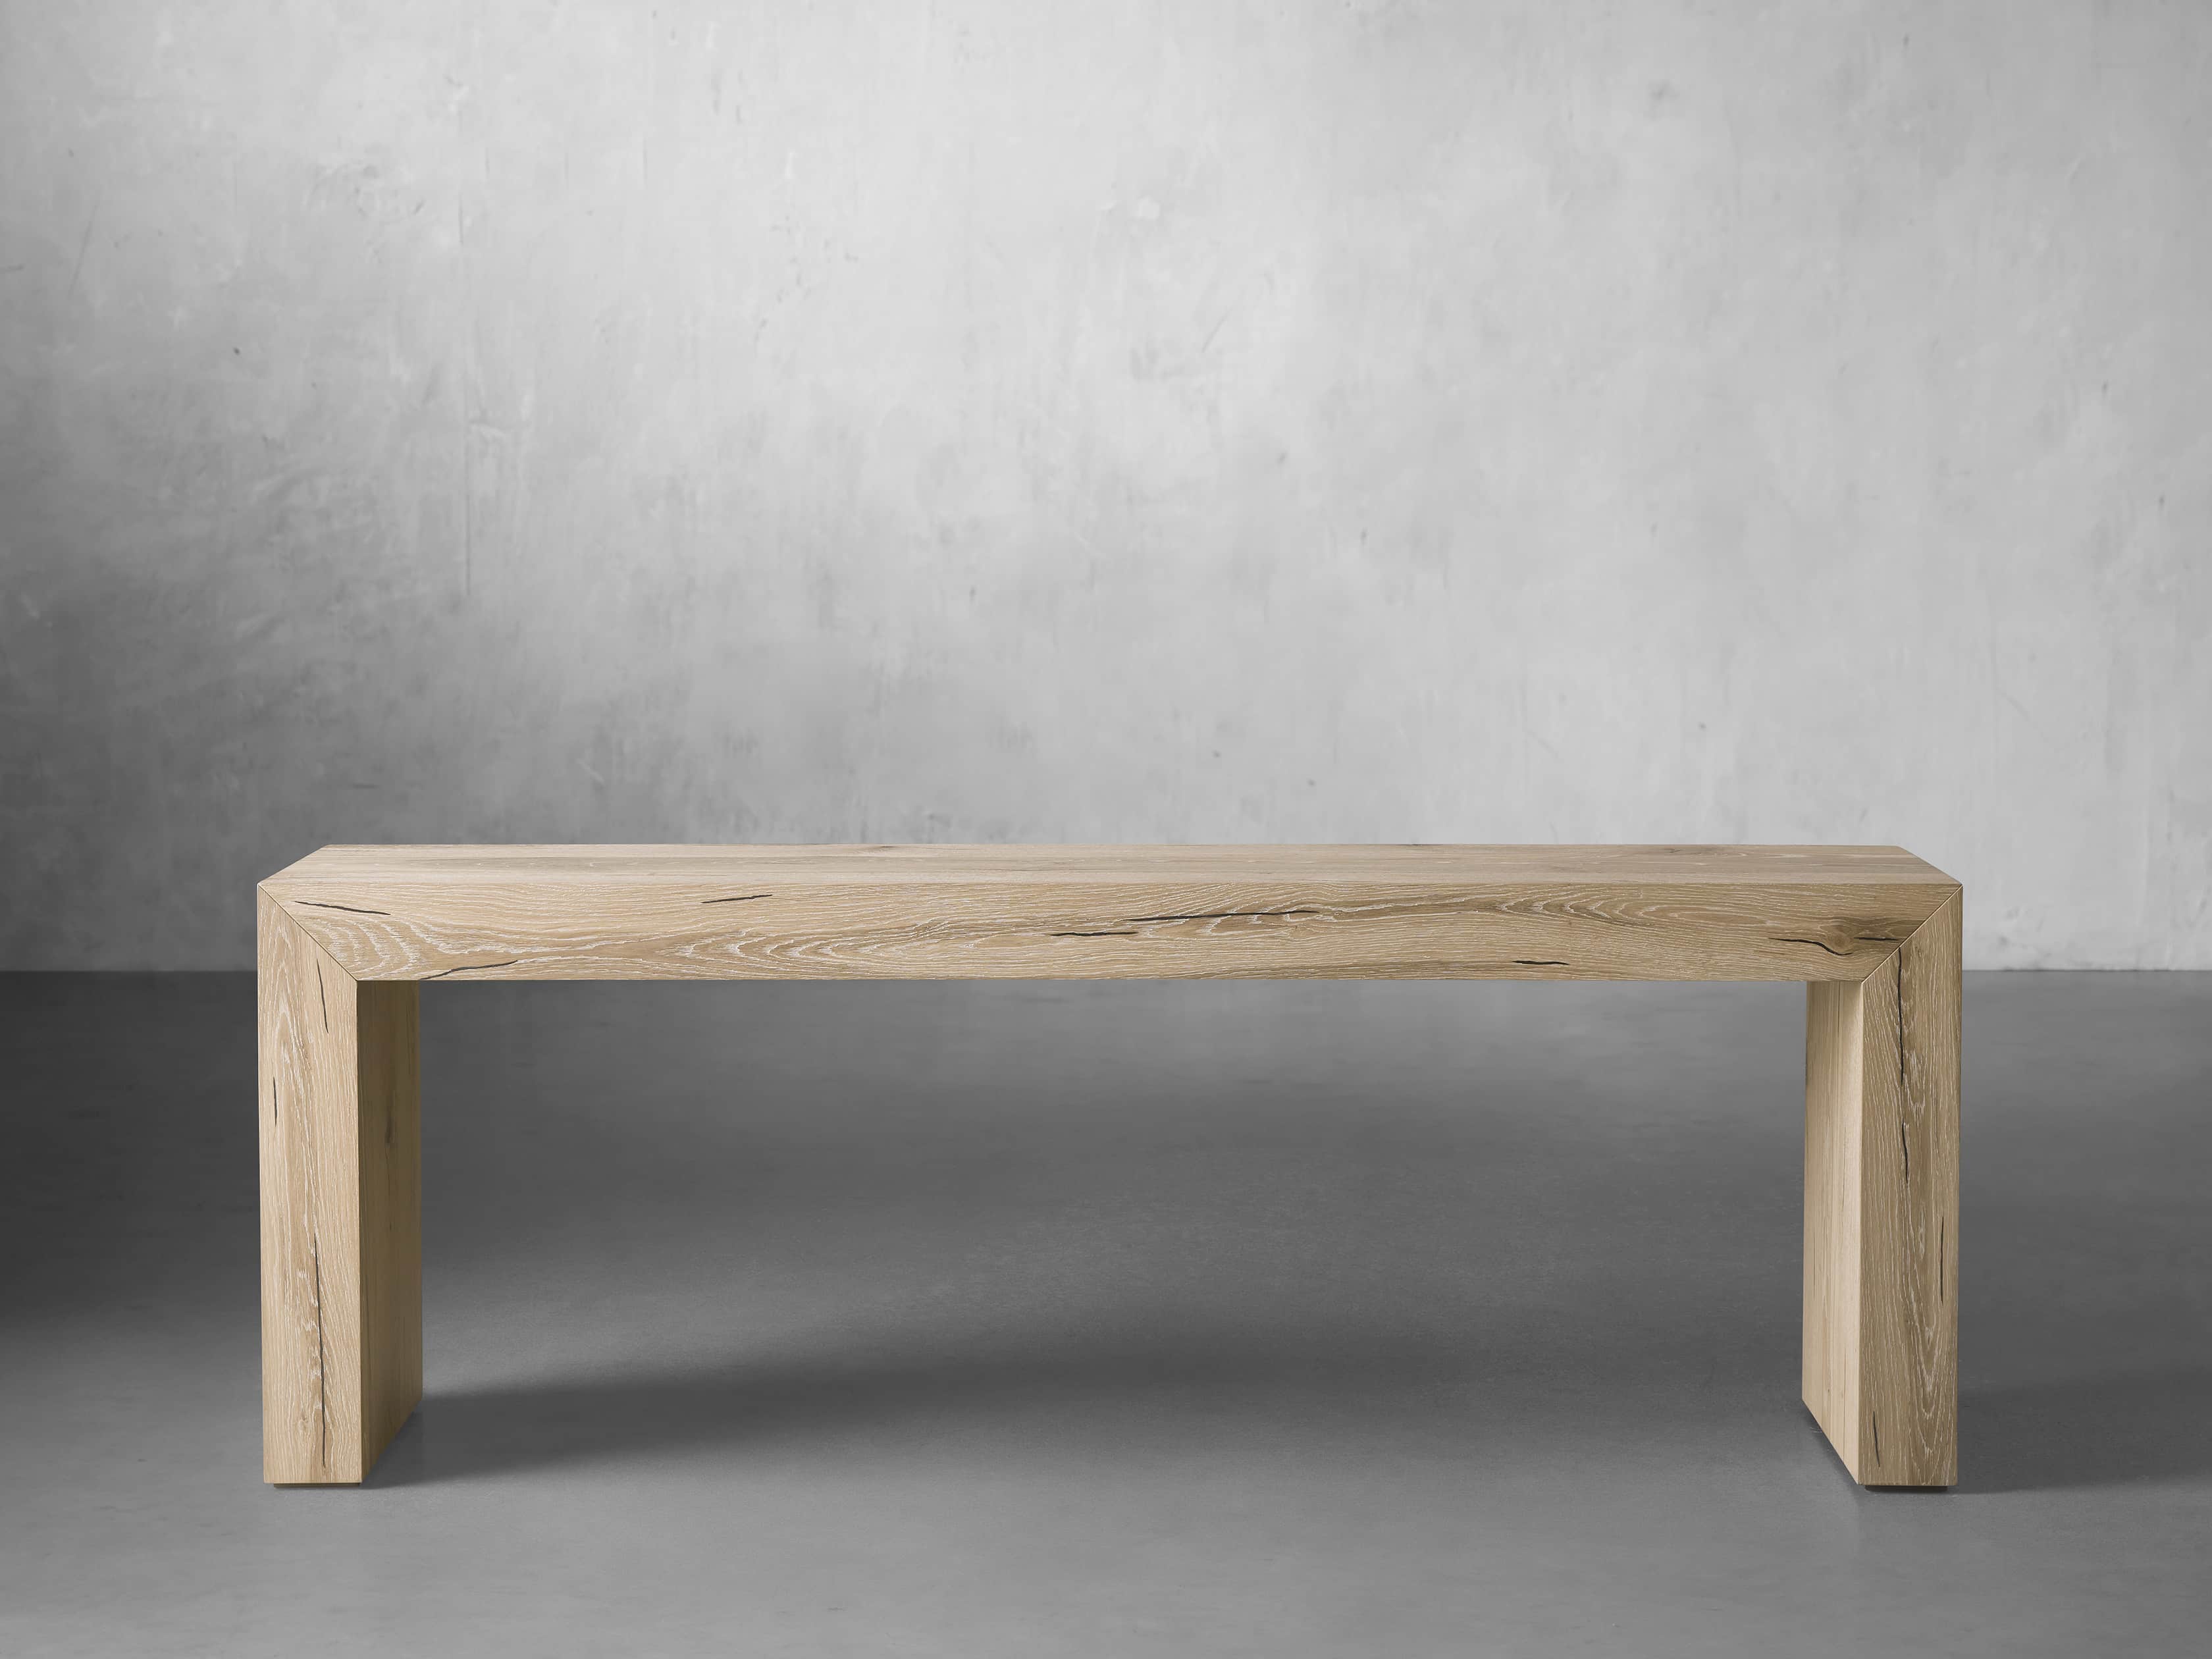

In order to recreate the scale of this piece, I would either need to use a board that was wide enough (which ended up prohibitively expensive and defeating my money-saving purpose) or connect several boards together (which I wasn’t sure I had the skill set for at the time). That’s when I stumbled upon these glued pine boards!
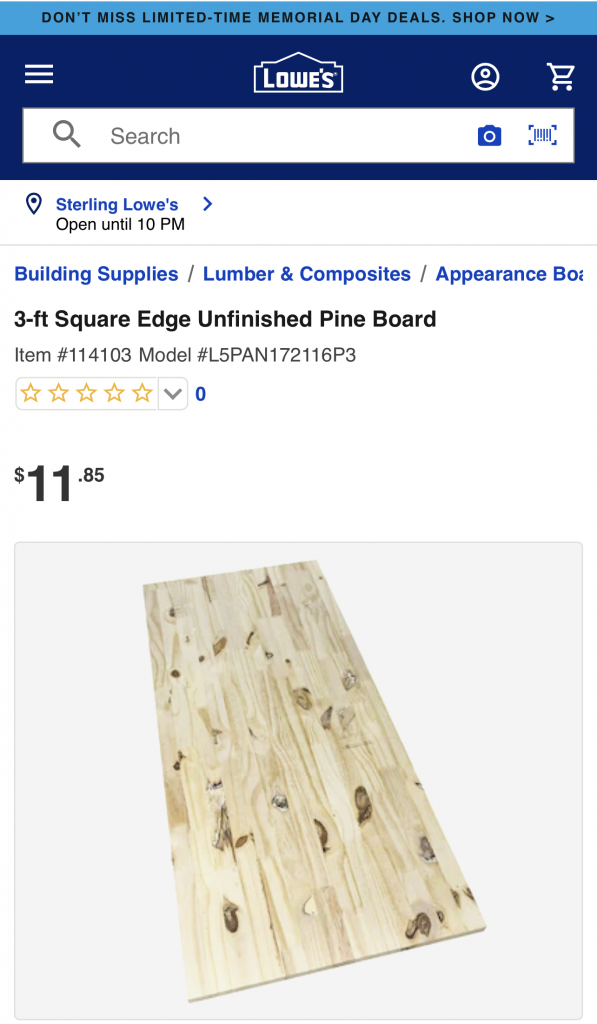
They are 16″ wide, 8′ long, perfect for this project and the price is just right!

Here is everything you will need to build this console:
- Four glued pine boards
- Two pine boards, 8′ x 6″
- Thin MDF to finish the back
- Nail gun
- Wood glue and finishing nails
- Circular saw (table saw works great as well)
- Jigsaw (optional)
- Kreg jig (I have this kit and it’s been more than enough for my projects so far) and pocket screws (optional)
- Wood filler and a sanding block
- If painting – paint of your choice
- If staining – stain of your choice
- Top coat (I love this one)
Let me explain my plan to you (and apologize for how incredibly messy my garage is in the next several photos). The front of this table has crisp, clean waterfall lines, that are achieved with bevel cuts.

After trying several different ways of getting the best bevel cut, I found that using my circular saw was the easiest, especially for the longer pieces. If you have a table saw, you can certainly accomplish the same thing. I would just make sure you have an extra person helping you grab those long pieces on the other side to prevent the wood from moving and resulting in less than accurate cuts. I found that with circular saw I had the most control and the best results. Besides, I’m pathologically bad at asking for help, so this method worked for me.


This is how the pieces connect together to start looking like a 3D structure:) I used wood glue and a nail gun to attach the sides to the top of the console.

I got so excited to see this table take shape, I had to bring it in the house to check and make sure the scale of it worked with the space.


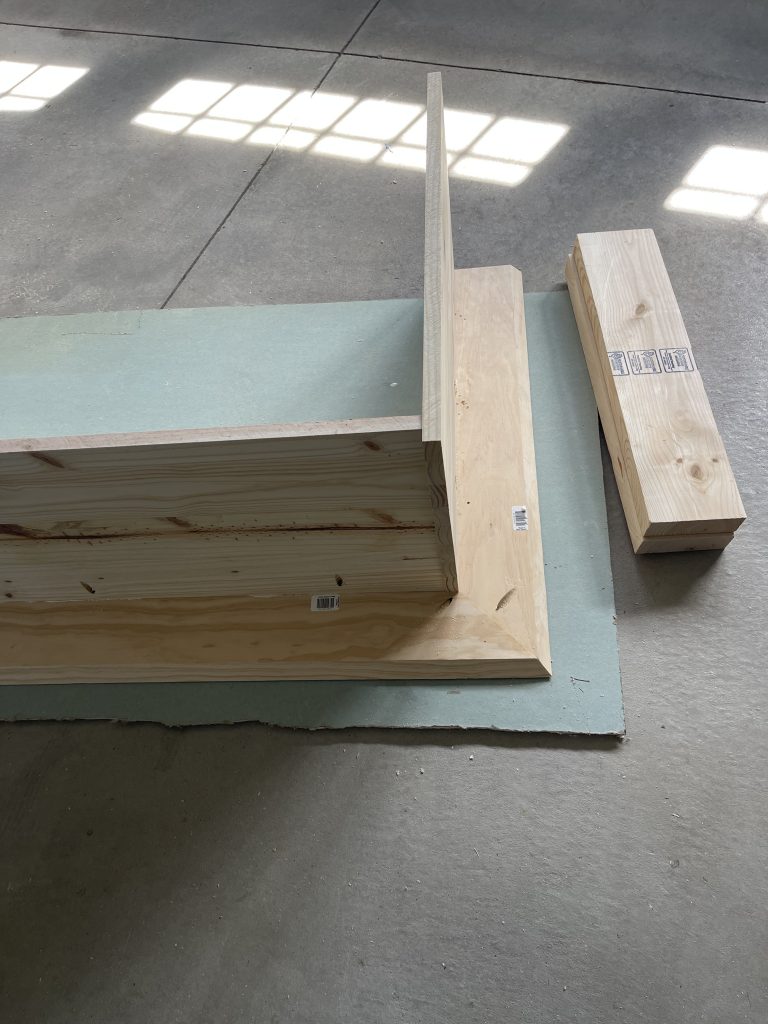
Next I had to figure out the front and the inside part of this console, and it got a little tricky. For the face frame I used the six inch wide pine boards. The bevel cut goes on one side of it that connects to the outside I already built. Stay with me, it’ll start to make sense in a second!

The inside part does not need to be beveled, since it is not visible when finished. The face frame of my table is 5 1/4″, and the inside part is 59″ across and 24″ tall.

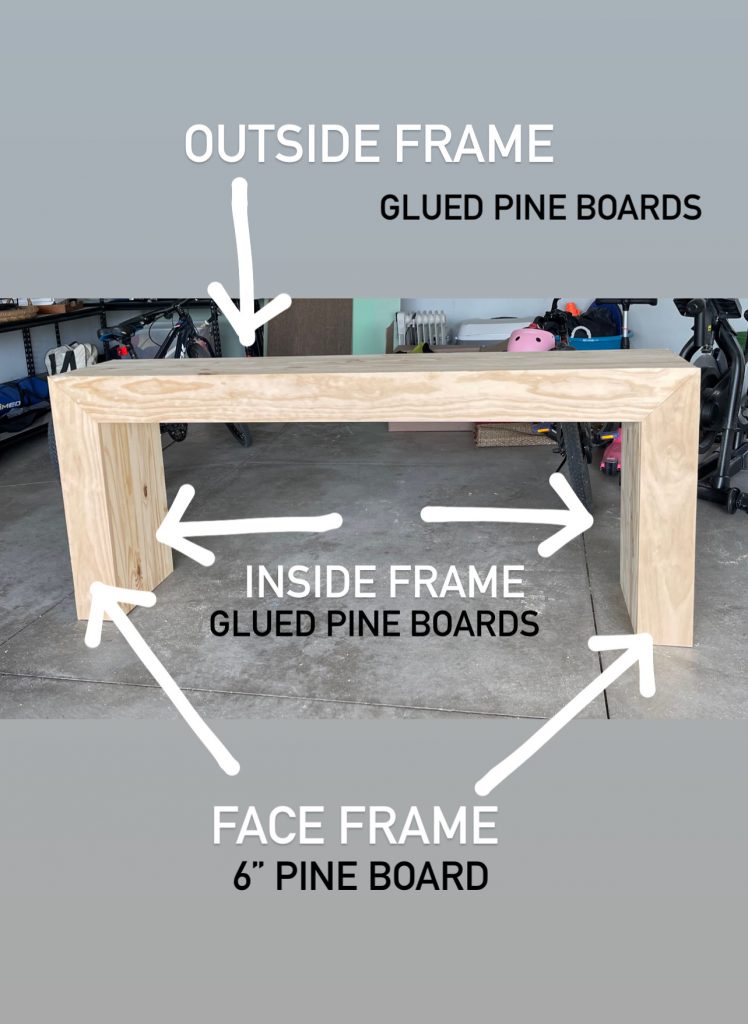


I made the cuts for the face frame and the inside frame pieces, attached those to each other, and then lined it up with the outside frame I had already built. I used wood glue and nails again to hold all the pieces together, and pocket screws for extra strength in the corners of the face frame, since there was no way of nailing them together and I didn’t think wood glue alone was going to be enough.

This is what it looked like when all three sides come together. The beveled cuts made it a little challenging to connect the pieces perfectly. I used wood filler where needed and sanded them down smooth for perfect finish.


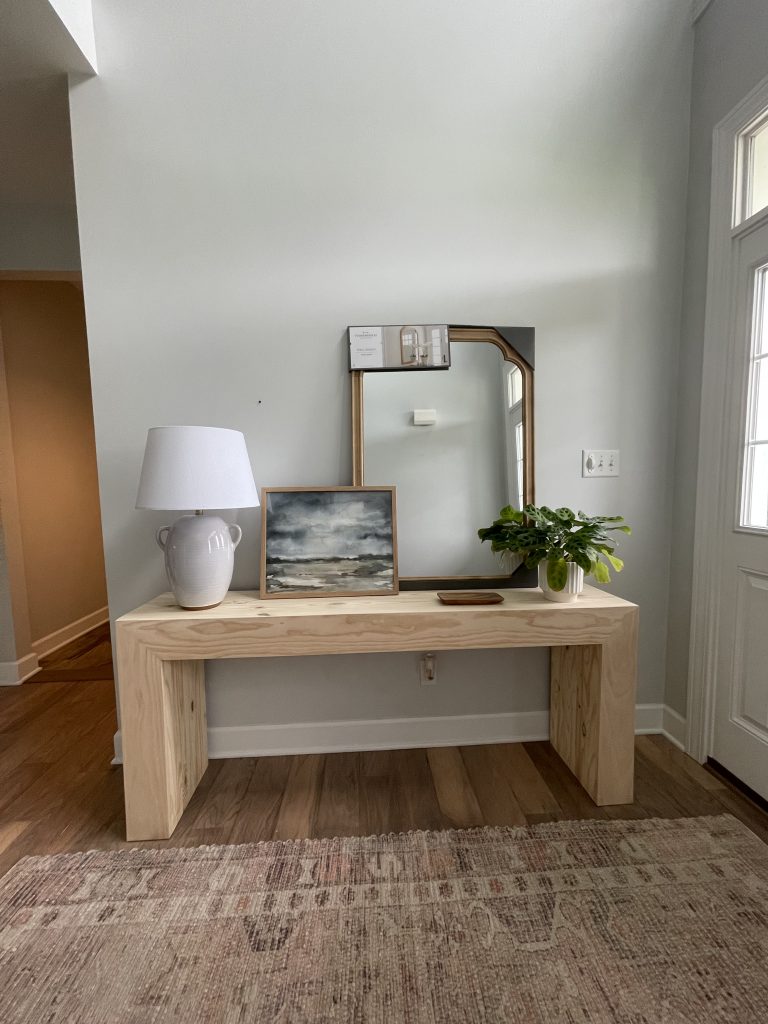
As much as I loved the scale and the style of this table, I was not in love with the way it looked with our floors. So back in the garage it went, for a coat of paint!

Here it is after the first coat of General Finishes Lamp Black milk paint. I love the coverage of that product! You can still see the wood grain, but the color is so rich!

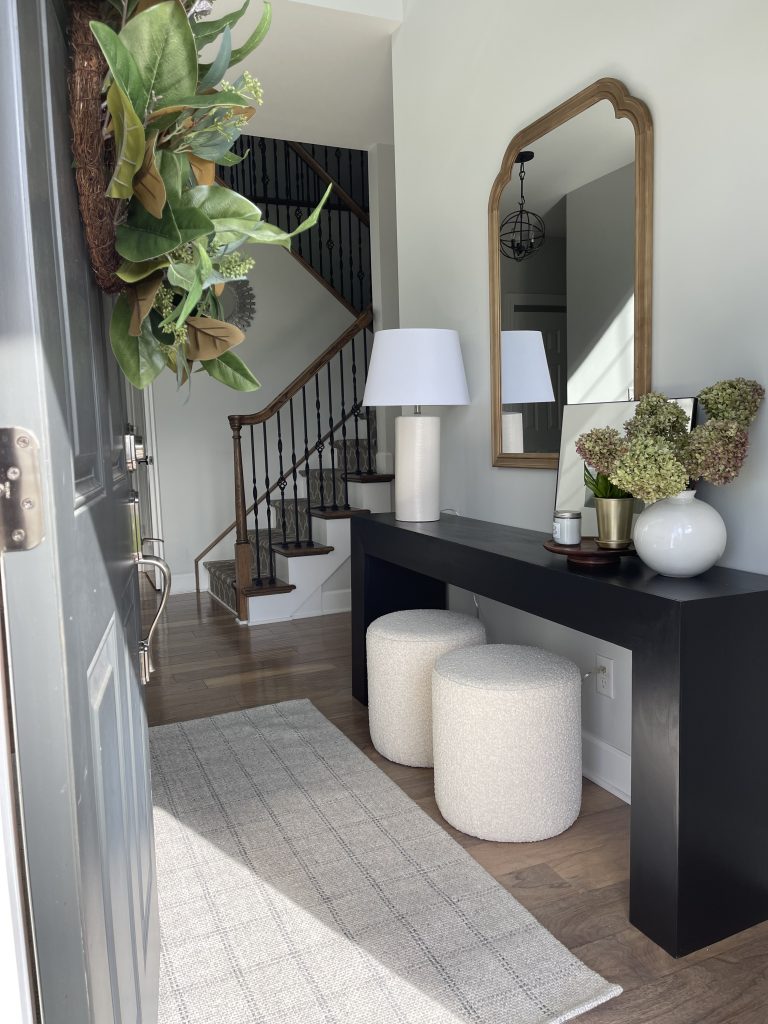
Here it is after two coats of paint and a three coats of this topcoat in satin finish!

To finish the back, I used a piece of very thin MDF I picked up in the damaged section of the hardware store. I cut it to size with my jigsaw and attached to the back with finishing nails.

4qjwyf
1yqb1m
Pingback: Most loved by you: This week’s most popular items - New
You did great justice to this project.
Thank you!