

If you follow on Instagram, you’ve probably seen this entryway table make an appearance. This was one of the first things I built in the new house, and it since has become one of the most versatile pieces of furniture we own.

To be honest, there was not a shortage of console tables in our inventory. Over the years, we accumulated several, with varying degrees of functionality. When we moved, we quickly discovered that none really worked for this specific space – either too short, too distressed, or too light. None felt right. It was a real Goldilocks moment.
I went looking for inspiration and came across this photo.
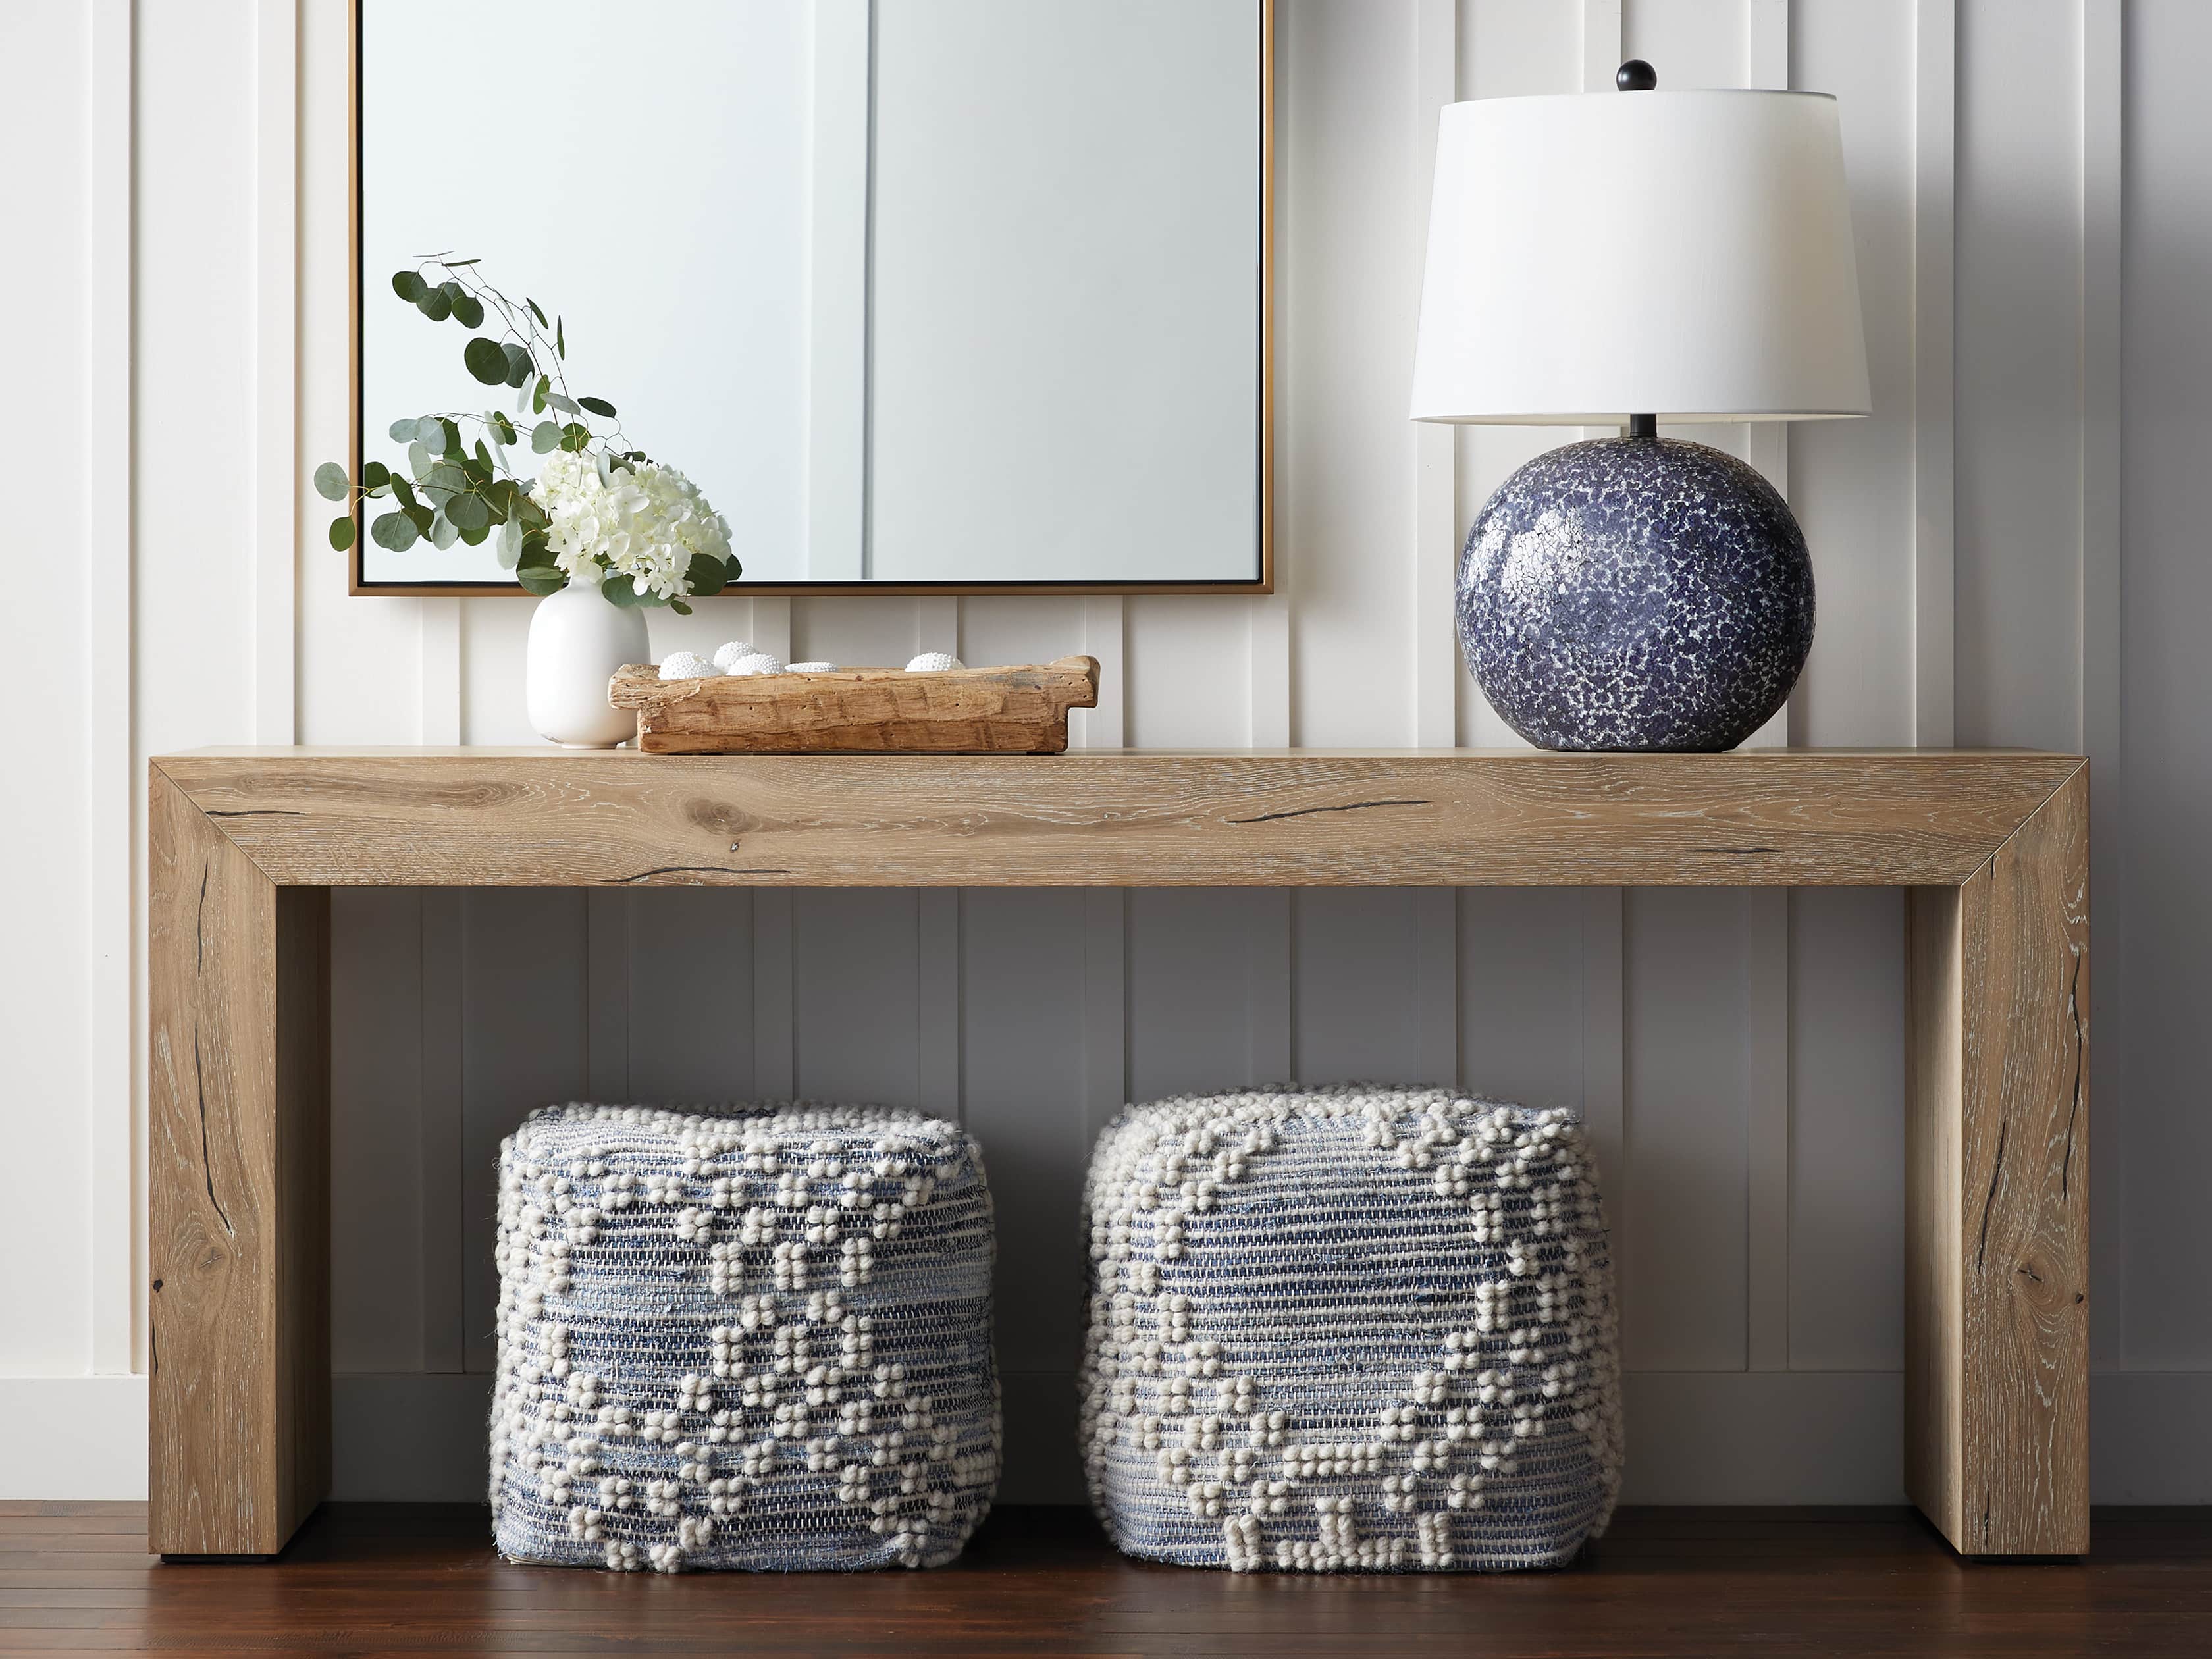
I was immediately drawn to the proportions and the clean lines of this table, the simplicity of its design, and the combination of crisp structure of the table and the softness of the upholstered pieces. This to me was just was I was looking for, minus the price tag.
After figuring out the dimensions of this piece for our entryway, I decided to use these glued pine boards from Lowe’s. Working with these made it a lot easier to create the clean surface I was looking for without having to combine multiple boards.
Then came the trickiest part: making long beveled cuts. My advise, after several failed attempts with scrap wood – ask for help. Asking for help is not something that comes naturally to me. It is something I avoid at all costs. However, if I wanted clean long lines that I was so attracted to in the inspiration photo, it was going to take two sets of hands to get there. With the help of my husband, the process of passing the long pieces of wood through the table saw went quick and easy!


The rest was easy and straightforward: I put the boards together and secured them with wood glue, finishing nails and some pocket wholes.


As much as I love the stained wood in the inspiration photo, once I brought the table into the house, I wanted to see more contrast… which meant paint.
And when in doubt, you paint it black!

I used General Finishes Lamp Black milk paint. I have worked with General Finishes paint before, and have always loved it: great texture, perfect coverage, beautiful finish every time. I love that the paint still allows for the grain of the wood to show through!

After two coats and some matte finish top coat, this was the final product!

This table is simple, versatile, surprisingly neutral, and allows for many variations in styling.
The best thing was that I was able to complete the whole project in under $250, using five pine boards and a pint of paint. I already had some of the supplies on hand, such as the top coat, nails and glue, and the painting supplies.

I can easily see us moving it around the house in the future, depending on how the rest of the furniture gets rearranged.
In the end, I learned a few things:
- Beveled cuts are tricky, but are the only way to get those mitered crisp lines I was looking for.
- Inspiration photos are just that – inspiration, a jumping off platform, a direction, not the destination.
- Dark pieces with strong clean lines are surprisingly neutral and easy to use.
- You can never go wrong with black paint 😉 .
Have you ever attempted a designer furniture dupe?
Pingback: Entryway inspiration - A Finished House